I love lists. I make a lot of them. I love crossing things off my lists. I am one of those people who will add something to my list just to cross it off. Sometimes I cross several things off my list that I haven’t done yet so that I do those things next. No one in my family gets my ‘list thing.’
I want to concentrate on three quilts this week: The Sun, Moon and Stars, Pomegranate Jam and Love Entwined. Let’s see if posting a weekly quilty to-do list can keep me on track.
Quilty To Do List for August 1st through 8th
The Sun, Moon and Stars quilt:
Trace zodiac symbols to Pattern Ease– done 1 AugustBaste appliqué shapes to gray squares– done 2 AugustPrepare sun and moon appliqué pieces– done 1 AugustBaste sun and moon to dark blue squares– done 2 August- Cut sashing strips
- Fix tail on Virgo in EQ
Pomegranate Jam:
Cut out FP pom pieces– done 1 August- Prepare fabric pom pieces
- Prepare bias stems
- Baste appliqué shapes to background fabric
Love Entwined:
- Appliqué small circles to outer ring
Baste lines for zig zag border – draw first using chaco liner– done 6 August- Appliqué compass to background
Make FP templates for leaves and triangles– done 1 August- Cut and baste leaves
- Appliqué leaves
Cut and prepare stems– done 1 August- Appliqué stems
Print and cut circles for flowers– done 1 August- Starch and appliqué circle flowers
- Cut and baste triangles around compass
- Appliqué triangles
- Hand stitch rectangles into long strips for zig zag borders
- Stick Solvy to ZZ border and starch edges around to back
- Baste ZZ borders in place
- Applique ZZ borders
One of my current projects is Esther Aliu’s Love Entwined BOM. The pattern will be issued free each month on Esther’s Yahoo Group over an 18 month period. If you are thinking of joining up, now is the time as the first two months’ patterns are still available in the email group files. I believe Part 1 will be removed shortly. The main page for information on Love Entwined is here on Esther’s Blog.
The first thing that needs to be pieced is the center compass. Some are appliqueing it, some are paper piecing it and some are hand piecing it. I chose to hand piece because applique seemed too fiddly and I do not like to paper piece. I do my hand piecing a little differently than most. I guess because I am used to putting the freezer paper on the right side of the fabric for fussy cutting rather than the wrong side.
An important thing to remember when printing out the pattern pieces is to have your printer set at ‘actual size’ or ‘100%’ and use the A4 paper setting instead of 8.5 x 11 inch paper. (You can use 8.5 x 11 or 14 inch paper to print on but the printer should be set at A4.) Some have been worried about getting that 1 inch box to fit perfectly with their ruler measurements that they are ending up with templates that are the wrong size. More important than the perfect 1 inch box is the size of the center compass. It should measure 7.5 inches across the inside circle and 8.5 inches across the outer circle. If it does, then your templates are the correct size.
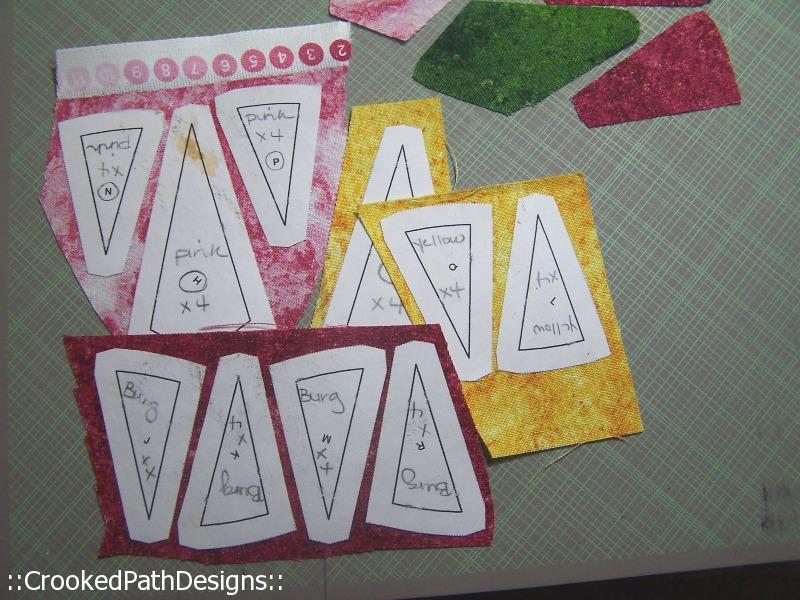
Freezer paper templates ironed to right side of fabric
I printed my templates onto freezer paper and cut the FP out along the outside edges. I iron my templates to the front of my fabric.
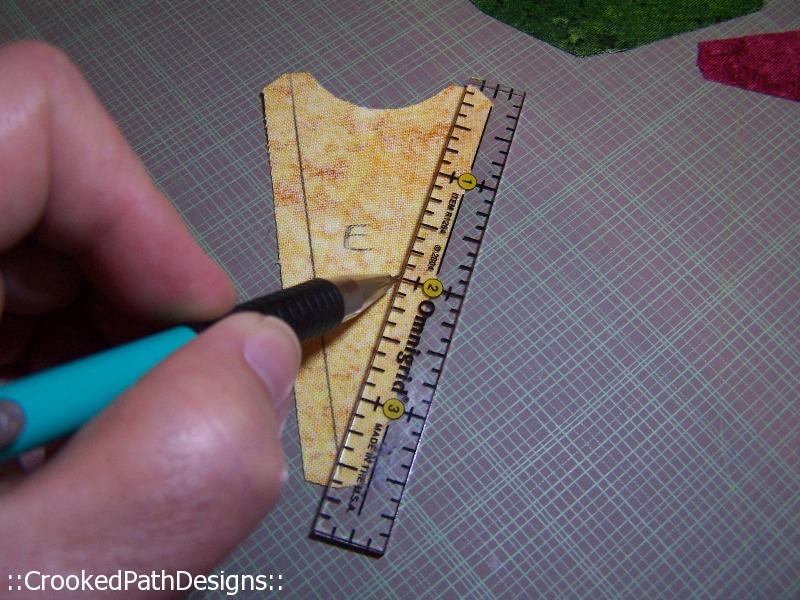
Marking stitching lines
After I cut all the pieces out, but BEFORE I remove the freezer paper, I turn the pieces over and mark my stitching lines at the 1/4 inch mark. I label the pieces with the template letter also.
Pieces ready for stitching
I know most people lay out their pieces for stitching with the wrong side up, but being me, I like them right side up. All I need to do is flip one piece down on top of another and pin at the middle and end of the seam. They will be positioned with right sides together and I have less chance of sewing the wrong two seams together. (Tell me you haven’t done that a time or two…)

Stitching the outside edges together first
I use applique needles for pins because they are thin and do not distort the seam. Also there is no large pin end for the thread to get caught around.

Outside edges all done
All the outside triangles sewn together.

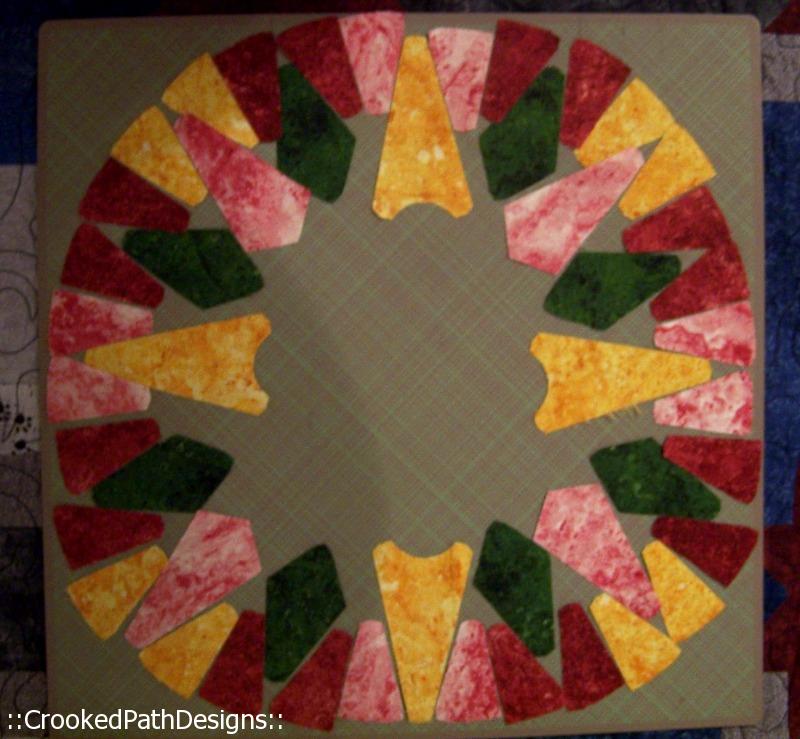
Next sequence to stitch
I sewed the triangles to both sides of the green compass points next. Then sewed both those units to either side of the pink compass points. Finally, I added a yellow compass point to one side of that unit.
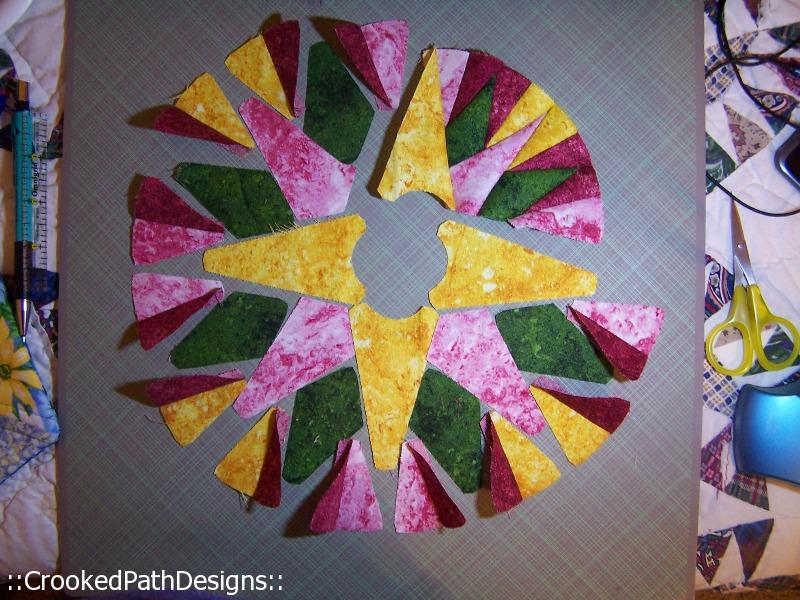
One quarter section of compass stitched
Oopsie!
I guess I got a little excited about sewing that last yellow compass point on. Not sure how I managed to twist it around upside down. (My method is not fool proof. LOL)
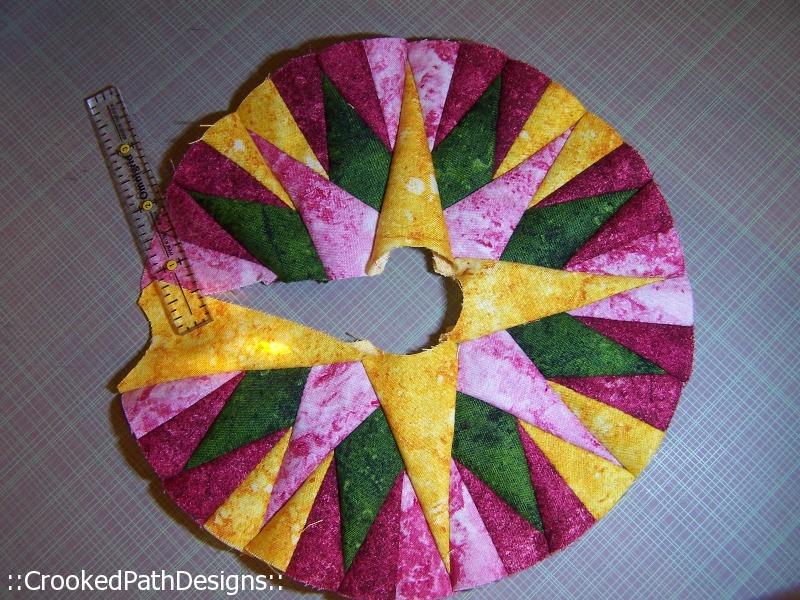
Compass ring with inside seam allowance starched down
I decided I wanted a contrasting ring around my compass rather than the background fabric as called for in the pattern. I like to use starch around FP or a plastic template before stitching any type of circular applique design to get a smoother edge.
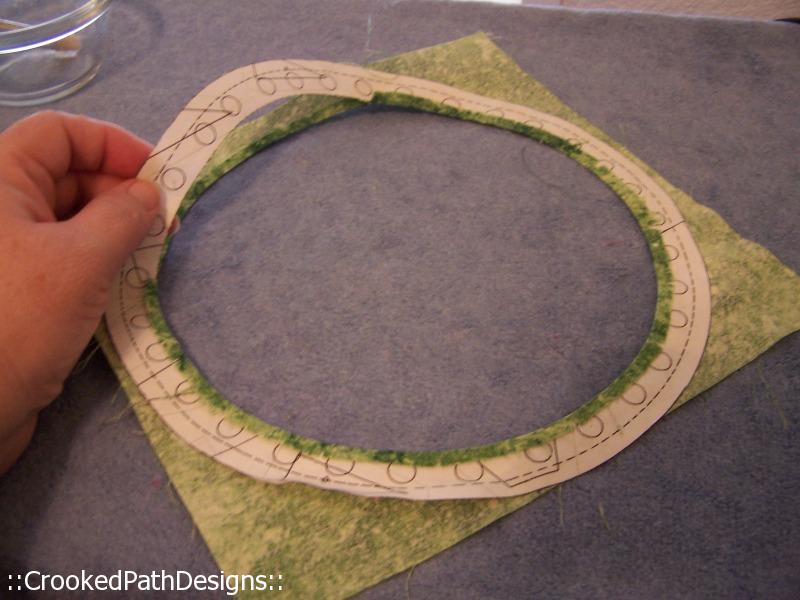
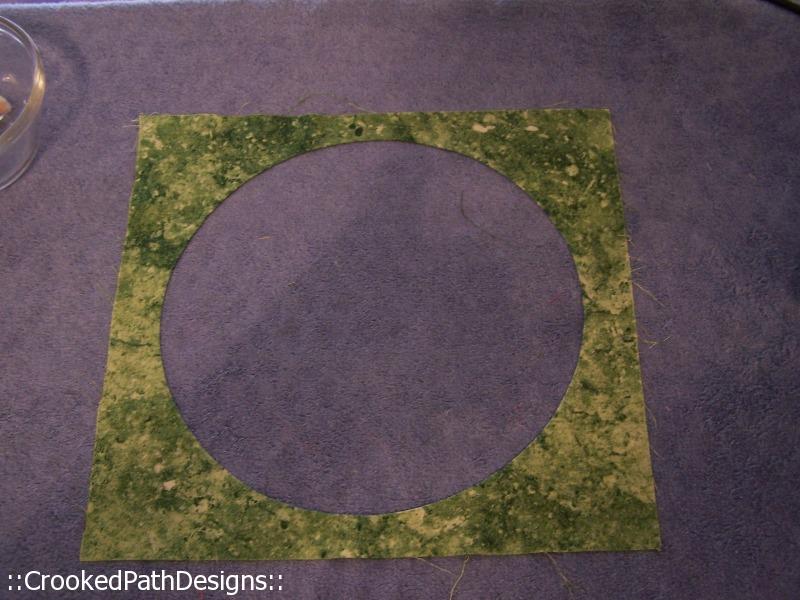
Inside circle of compass ring starched down
Again, I printed the template on FP and ironed it to my 10.5 inch block. I cut the center of the circle out. Then I carefully cut the seam allowance off the FP ring (but not through the fabric) and clipped the fabric about every 1.5 inches around the inside of the ring. I used Best Press to starch and iron the seam towards the back of the fabric onto the FP. When the Best Press was dry, I removed the FP ring and ironed my seam allowance down again.
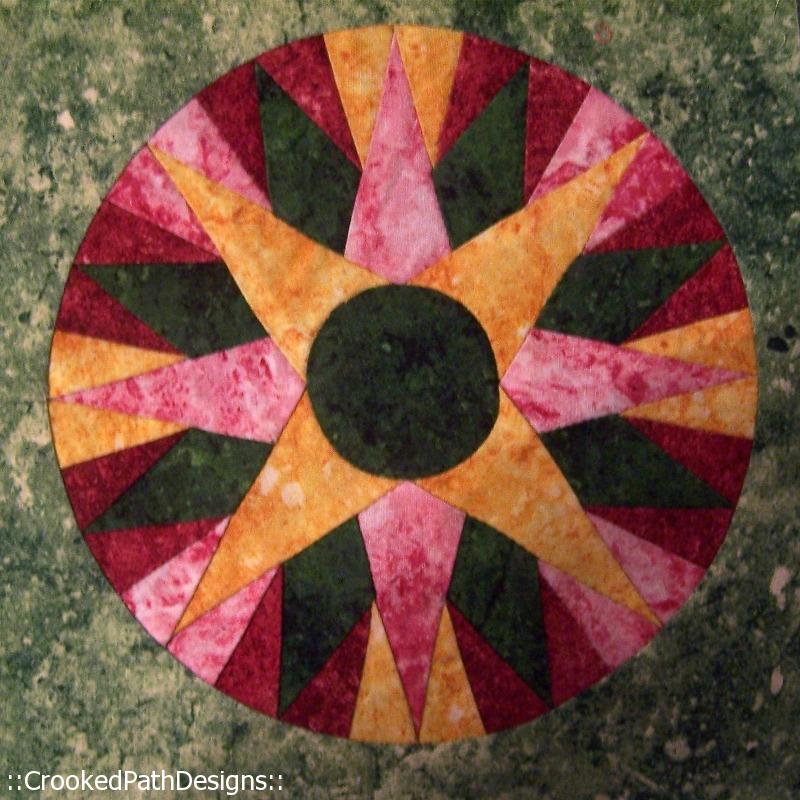
Ready for the next step!
Here is my compass with the inside of the ring and the compass center appliqued down. There is a little spot on my compass center that is a little wonky. The perfectionist persona wants to fix it and the logical persona says that focusing on that wonky bit is like focusing on a speck of sand in a sandstorm when you consider how much more applique is going to go into this quilt. We will see who wins out in this internal argument.
Next I will show you how I made the 32 little circles (they are 5/16 of an inch!) and the finished compass against my background fabric.

- 1 Year of Stitches embroidery project
- Hexiflowers (aka Grace's Garden)
- Death Star pillow
- Tonopah Nevada topographical map
- 1855 Wales Center map
- Winnie the Pooh map
- Ethan's Quilt
- Thea's Quilt
- Rachelle Fae CQ block
- Machine quilting with a walking foot
Judy Martin's
Waltzing Matilda

6, 9 & 12 inch blocks
The traditional size: 1 inch Patchwork of the Crosses

FREE Idea Book