I am not looking forward to appliqueing these onto the ring around the compass. They are tiny. Teeny tiny. They are smaller than the smallest size of Perfect Circles by Karen Kay Buckley. The smallest KKB circle template is 7/16 of an inch and the circles for the Love Entwined compass are 5/16 of an inch. There were a number of creative solutions to the tiny circle dilemma posted on the email group for Love Entwined.
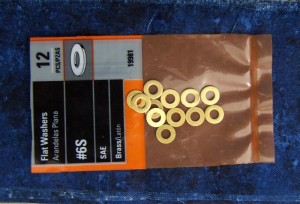
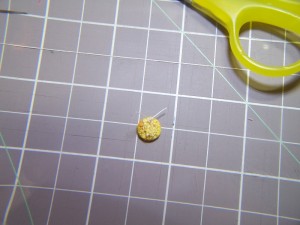
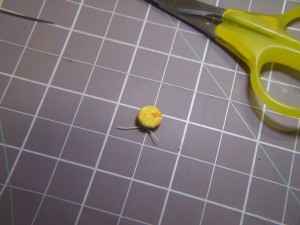
Those who like to starch their circles before appliqueing them purchased small washers to gather their circles around with a basting stitch.
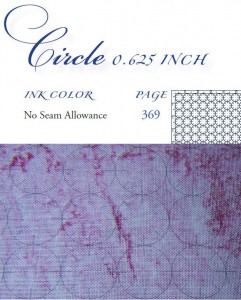
Linda has two Inklingo circle collections that work with KKB’s Perfect Circle sets. I was determined to use Inklingo to print the 32 circles instead of tracing around a template. I figured I could use one of the sizes without seam allowance to print a circle small enough to gather around the washer.
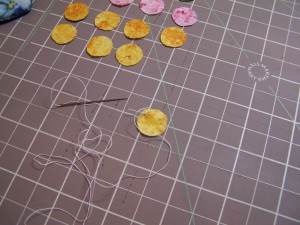
After the circles were printed and cut, I basted around them with hand quilting thread. Hand quilting thread is thicker and stronger than the thread I use for hand piecing so there is less chance of it breaking when pulling the gathers up tight.
I could only do 12 at a time because I only purchased one package of washers. [Note to self: Next time buy 3 packages…] Tie a knot in your thread before beginning but at the end of your basting just leave a tail about an inch or so.
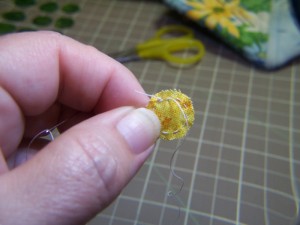
Lay the washer on the wrong side of your fabric and pull up the tail of your basting thread to gather the material around the washer.
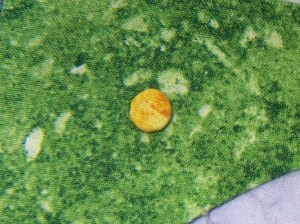
I used a small bowl to put the circles into and then sprayed enough Best Press on them to soak them thoroughly. I let the circles dry overnight instead of trying to iron them. Once they are dry, you can carefully loosen the basting thread about a quarter of the way around and then take out the washer. It was fiddly so I used tweezers with a bent tip to help remove the washer.
After the washer is removed, smooth and smoosh the seam allowance back into place. The Best Press should still hold everything. I cut off the knot and tail end of my basting thread but left the stitches in place. There are a few pokies that will need to be tucked in better as I am appliqueing but I find it easier to do circular shapes when they are starched into shape beforehand.
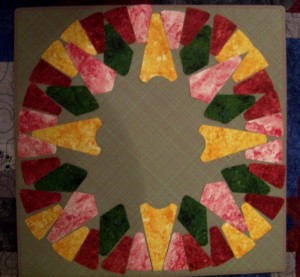
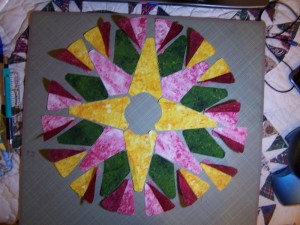
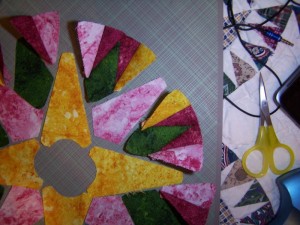
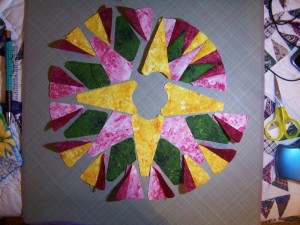
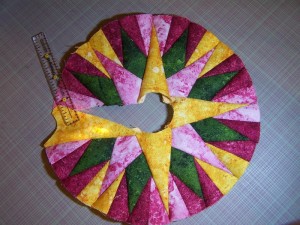
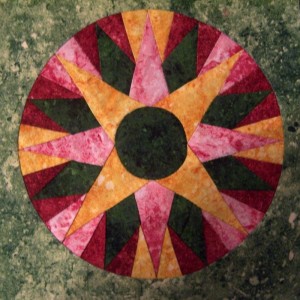
I decided to redo my compass because I didn’t like the way the pink and yellow spokes blend into each other. I know, I know… creating more work for myself. I am using the same fabrics but changing their position in the compass. I have to finish it up before I can applique the teeny tiny circles on. I need to get to work as there is only a week before Part 3 is released. I got a little more involved in The Sun, Moon and Stars than I was supposed to. I got side-tracked from my list! [What’s new?]
One of my current projects is Esther Aliu’s Love Entwined BOM. The pattern will be issued free each month on Esther’s Yahoo Group over an 18 month period. If you are thinking of joining up, now is the time as the first two months’ patterns are still available in the email group files. I believe Part 1 will be removed shortly. The main page for information on Love Entwined is here on Esther’s Blog.
The first thing that needs to be pieced is the center compass. Some are appliqueing it, some are paper piecing it and some are hand piecing it. I chose to hand piece because applique seemed too fiddly and I do not like to paper piece. I do my hand piecing a little differently than most. I guess because I am used to putting the freezer paper on the right side of the fabric for fussy cutting rather than the wrong side.
An important thing to remember when printing out the pattern pieces is to have your printer set at ‘actual size’ or ‘100%’ and use the A4 paper setting instead of 8.5 x 11 inch paper. (You can use 8.5 x 11 or 14 inch paper to print on but the printer should be set at A4.) Some have been worried about getting that 1 inch box to fit perfectly with their ruler measurements that they are ending up with templates that are the wrong size. More important than the perfect 1 inch box is the size of the center compass. It should measure 7.5 inches across the inside circle and 8.5 inches across the outer circle. If it does, then your templates are the correct size.
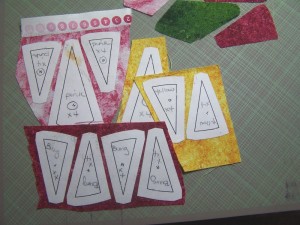
I printed my templates onto freezer paper and cut the FP out along the outside edges. I iron my templates to the front of my fabric.
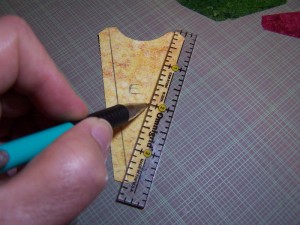
After I cut all the pieces out, but BEFORE I remove the freezer paper, I turn the pieces over and mark my stitching lines at the 1/4 inch mark. I label the pieces with the template letter also.
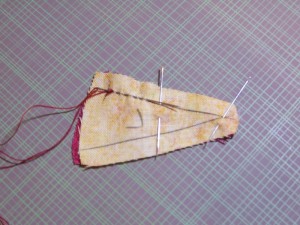
I know most people lay out their pieces for stitching with the wrong side up, but being me, I like them right side up. All I need to do is flip one piece down on top of another and pin at the middle and end of the seam. They will be positioned with right sides together and I have less chance of sewing the wrong two seams together. (Tell me you haven’t done that a time or two…)
I use applique needles for pins because they are thin and do not distort the seam. Also there is no large pin end for the thread to get caught around.
All the outside triangles sewn together.
I sewed the triangles to both sides of the green compass points next. Then sewed both those units to either side of the pink compass points. Finally, I added a yellow compass point to one side of that unit.
I guess I got a little excited about sewing that last yellow compass point on. Not sure how I managed to twist it around upside down. (My method is not fool proof. LOL)
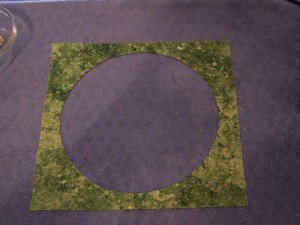
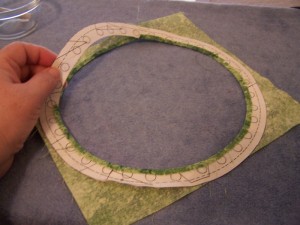
I decided I wanted a contrasting ring around my compass rather than the background fabric as called for in the pattern. I like to use starch around FP or a plastic template before stitching any type of circular applique design to get a smoother edge.
Again, I printed the template on FP and ironed it to my 10.5 inch block. I cut the center of the circle out. Then I carefully cut the seam allowance off the FP ring (but not through the fabric) and clipped the fabric about every 1.5 inches around the inside of the ring. I used Best Press to starch and iron the seam towards the back of the fabric onto the FP. When the Best Press was dry, I removed the FP ring and ironed my seam allowance down again.
Here is my compass with the inside of the ring and the compass center appliqued down. There is a little spot on my compass center that is a little wonky. The perfectionist persona wants to fix it and the logical persona says that focusing on that wonky bit is like focusing on a speck of sand in a sandstorm when you consider how much more applique is going to go into this quilt. We will see who wins out in this internal argument.
Next I will show you how I made the 32 little circles (they are 5/16 of an inch!) and the finished compass against my background fabric.
I managed to get nine projects in my suitcase [out of ten] so that was a good plan. Patchwork of the Crosses is missing from the suitcase but that was to make room for all the Love Entwined fabrics. I couldn’t decide on my color choices for Part 2 of LE so I brought them all with me.
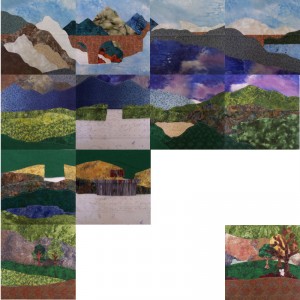
I wanted to get a little bit further on America, America before working on Part 2 of LE. I took pictures of the block backgrounds I have done so far and pasted them together in photo editing software.
For some reason block two seems to be problematic. In the first three rows those are the blocks that are only partially done.
[I am really not happy with my current watermark plugin. But searching through them all to find a better one?? Ugh.]
In row four, that middle section is one large block so I only have three more to do. The first block in row 4 is completely done and kind of boring looking but when the borders go on, there is a large tree with a boy and birds sitting in it that goes over that block and up into the block above.
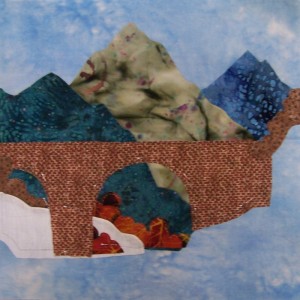
I got stalled on this block when I decided that I didn’t like the white fabric for the snowy white hill. The darker fabrics from behind were shadowing through too much. That meant that I had to go back and change the white fabric in block 1 also. I haven’t gotten back to basting the rest of this background and will probably hold off until I am ready to finish the block. The new white is a tone-on-tone which is a little harder to needle but I like it better for depicting snow.
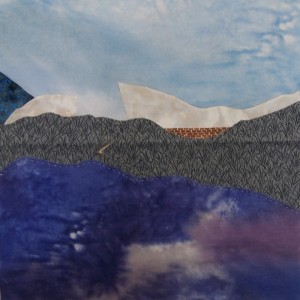
My next problem fabric was this purple-blue mountain fabric. It looks more like clouds reflected on a deep blue lake than a mountain. Doesn’t it? Yes, it does.
The pattern said I needed 1.25 yards of a lavender/blue mottled. Every time I went to substitute something else, I thought I did not have enough in my stash. Now that I have all the background pieces cut out, I have a lot of this fabric left. I could have used something else after all. But I decided I was done making myself crazy switching fabrics and I am leaving it as it is. When the block is done, little deer will look like they are walking on water. Or not. I imagine I will adding a lot of embroidery to fool the eye into thinking it’s land and not water. In the row below it looks like sky so the fabric has redeemed itself somewhat there.
